Tour
-
WELCOME TO THE PROTOCOL BUILDER TOUR
Protocol Builder helps make it faster and easier to develop research protocols that comply with IRB and regulatory standards.
-
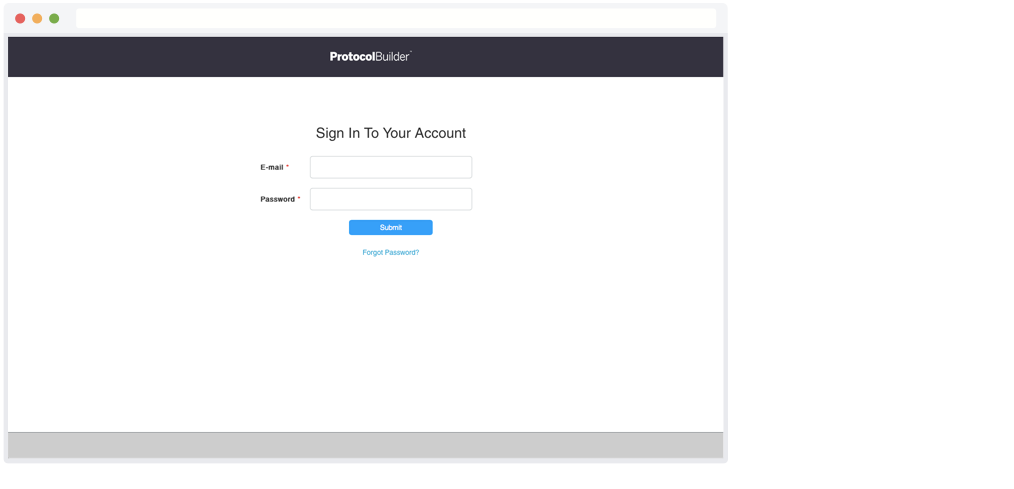
SIGN IN
Sign in securely with your email address and password.
-
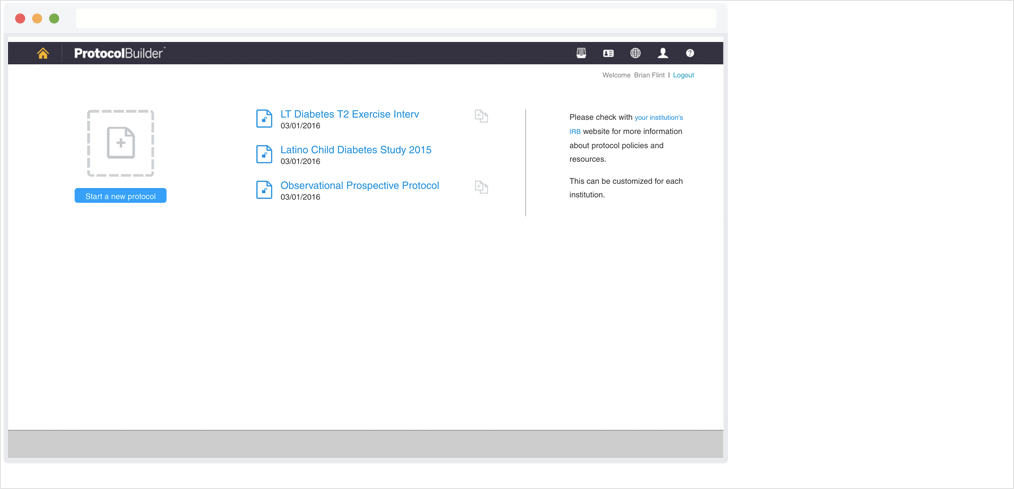
HOME SCREEN
Click to start a new protocol, or open a recently saved protocol. You can also duplicate an existing protocol to repurpose the content and references easily.
-
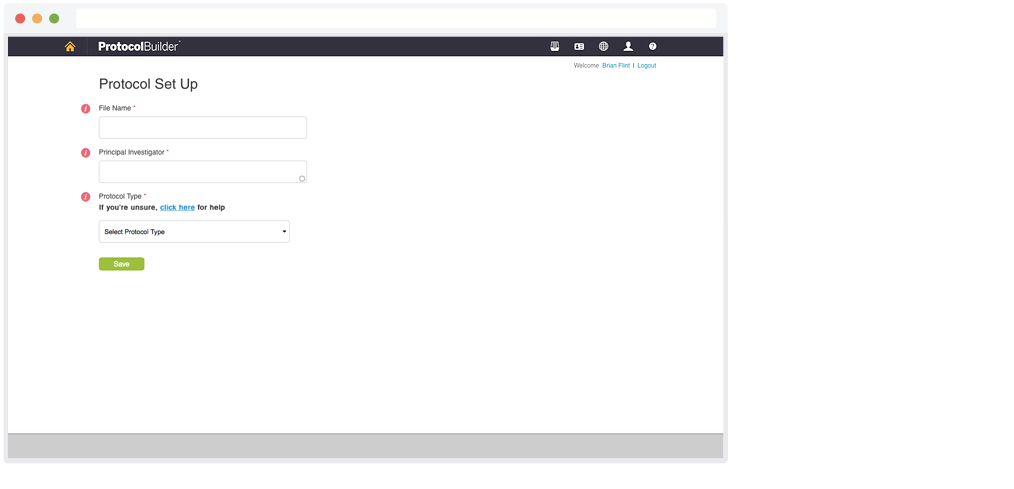
PROTOCOL SET UP
Set up your protocol quickly by entering basic information.
-
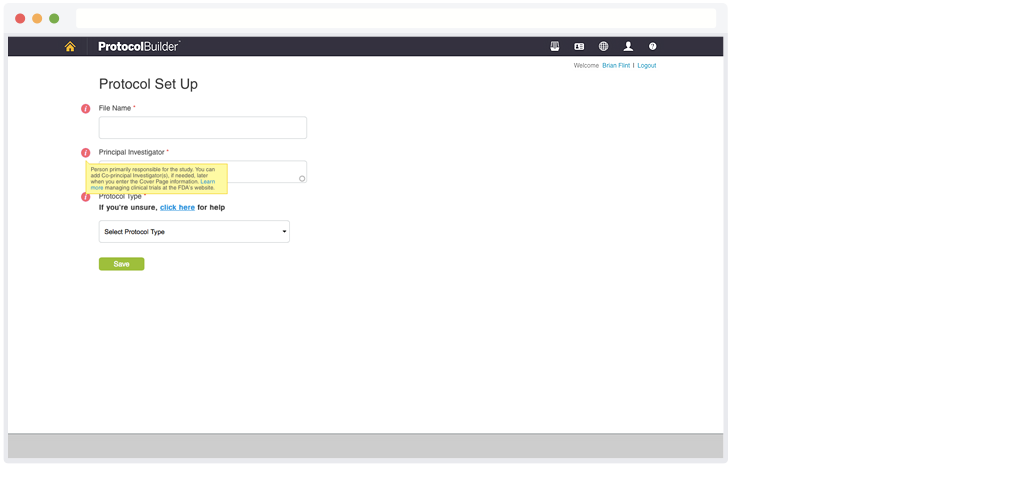
PROTOCOL SET UP
Roll over the “Information” icon to see relevant instructions and expert tips. These appear throughout the process.
-
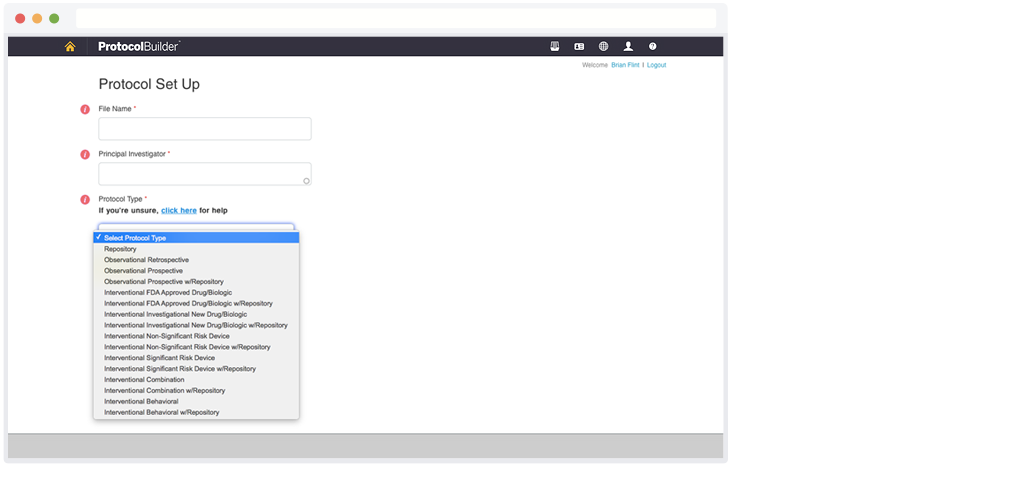
PROTOCOL SET UP
Select the Protocol Type and the contents of your protocol will be set up automatically.
-
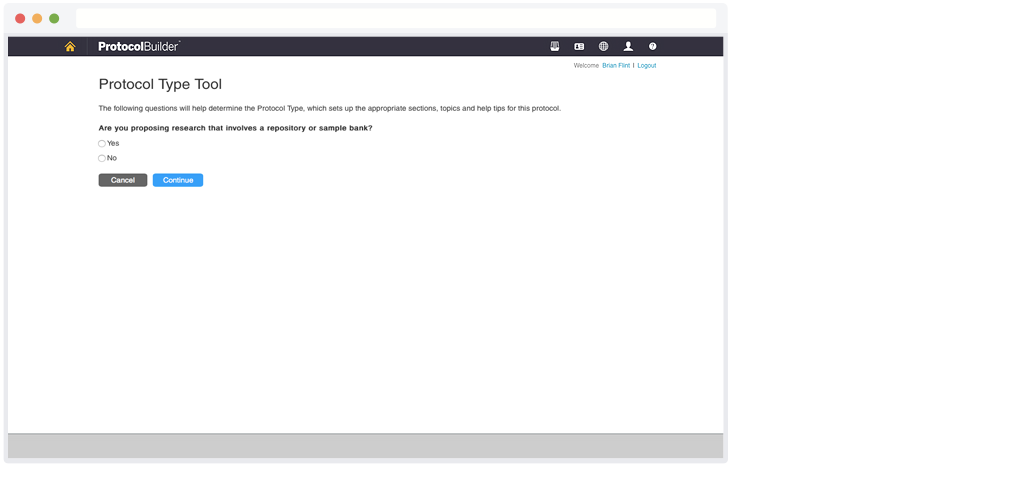
PROTOCOL SET UP
If you’re unsure of the Protocol Type, you can click to get help.
-
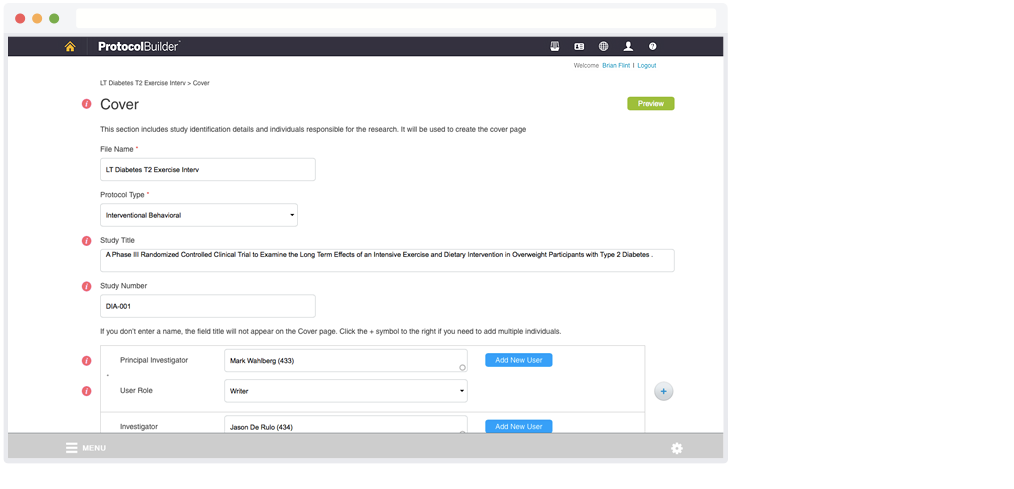
COVER PAGE
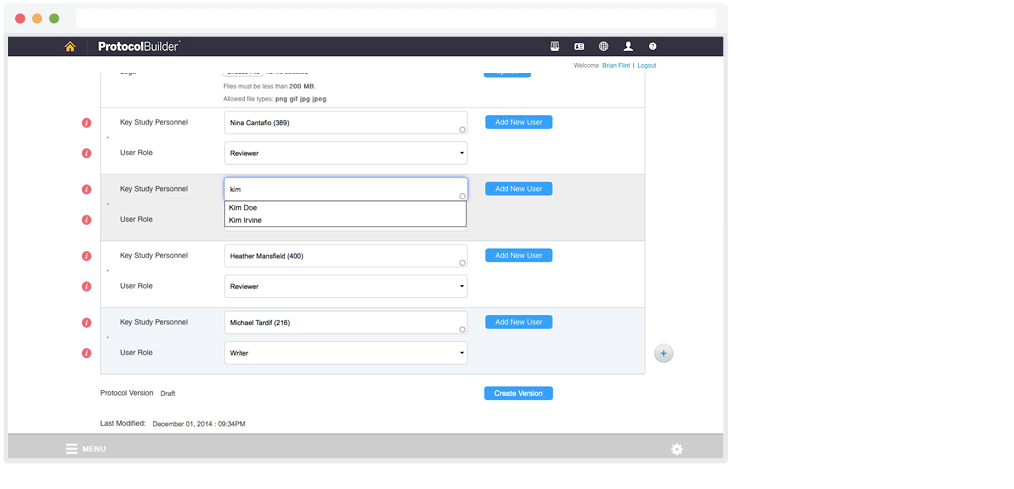
Start typing in a name and Protocol Builder will search for it in your organization’s list of users. Simply select the name when it appears.
-
COVER PAGE
Start typing in a name and Protocol Builder will search for it in your organization’s list of users. Simply select the name when it appears.
-
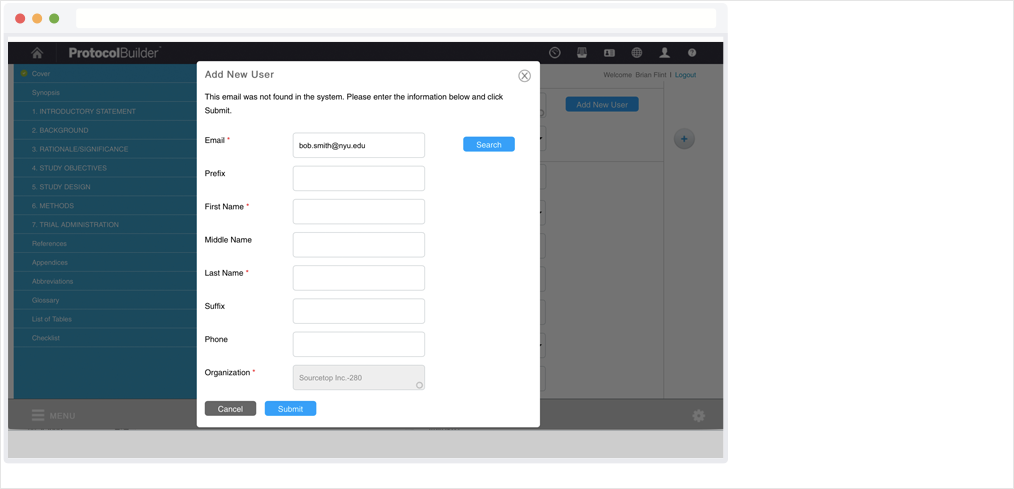
ADD NEW USER
If the name is not found, click Add New User. Type in an email address and click Search to populate the fields with information from the Protocol Builder database. If the user is not in the system, you can enter the information manually.
-
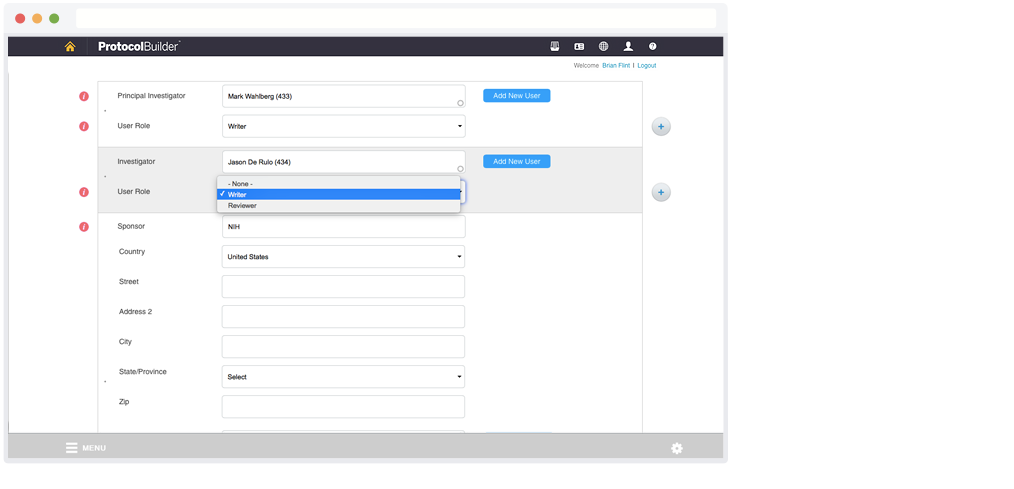
ADD NEW USER
You can choose a User Role for each person. A “Writer” can write and edit a protocol, while a “Reviewer” can only read and comment on it. An “Owner” is the individual who started the protocol and the only one who can delete or duplicate it.
-
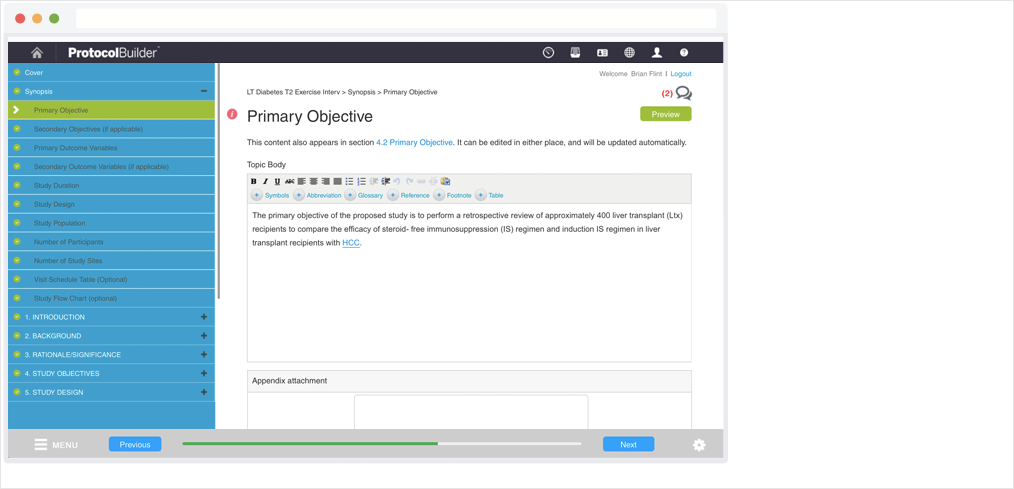
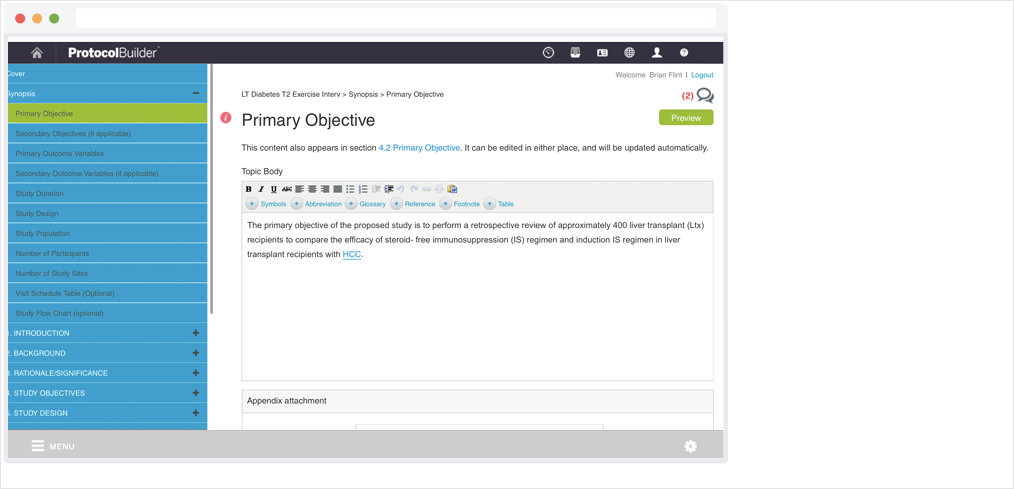
PROTOCOL SECTIONS
Once your protocol is set up, you can start writing a section, like the Primary Objectives in the Synopsis.
-
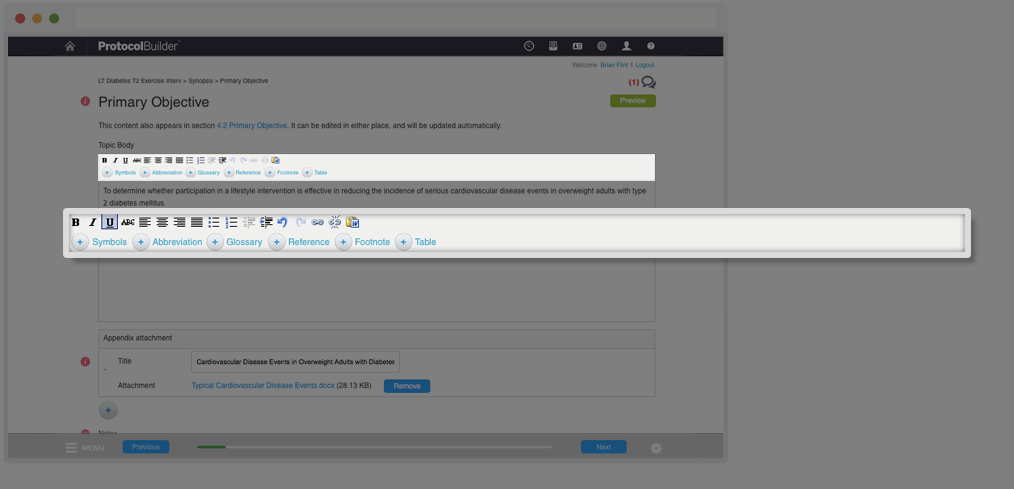
PROTOCOL SECTIONS
As you’re writing, you can click the editing toolbar buttons to format text.
-
PROTOCOL SECTIONS
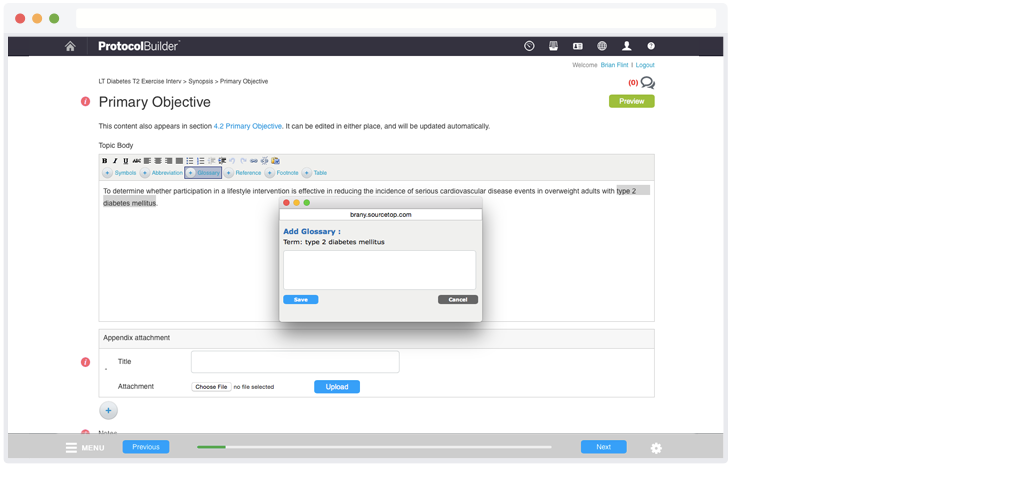
You can also add abbreviations, glossary terms, references and footnotes. They will be saved, formatted and used to create those pages at the end of the protocol.
-
PROTOCOL SECTIONS
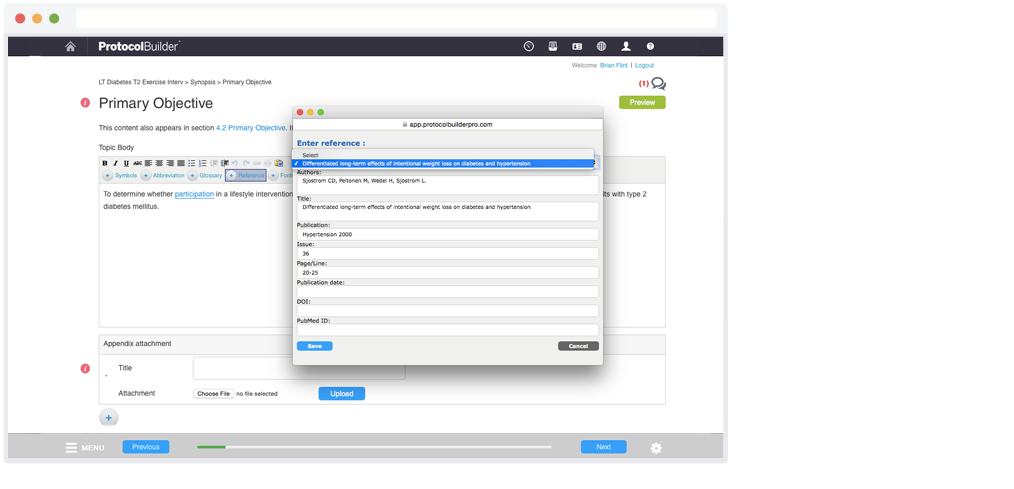
If you’ve entered a reference in previously, you can select it from the drop-down list. This way, you don’t need to enter the same information again.
-
PROTOCOL SECTIONS
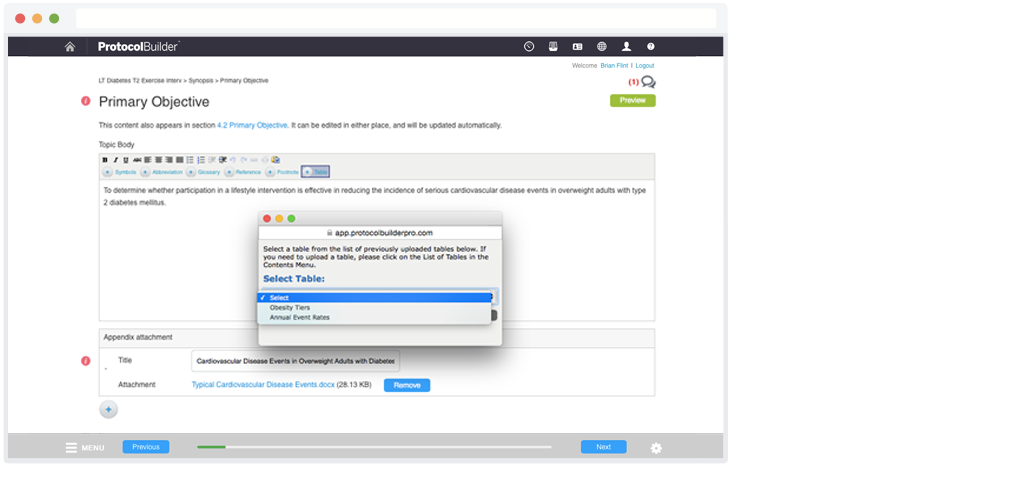
Click the Table button to insert tables, charts or images that you have previously uploaded to the List of Tables. They will also be listed in the List of Tables section at the end of the protocol.
-
PROTOCOL SECTIONS
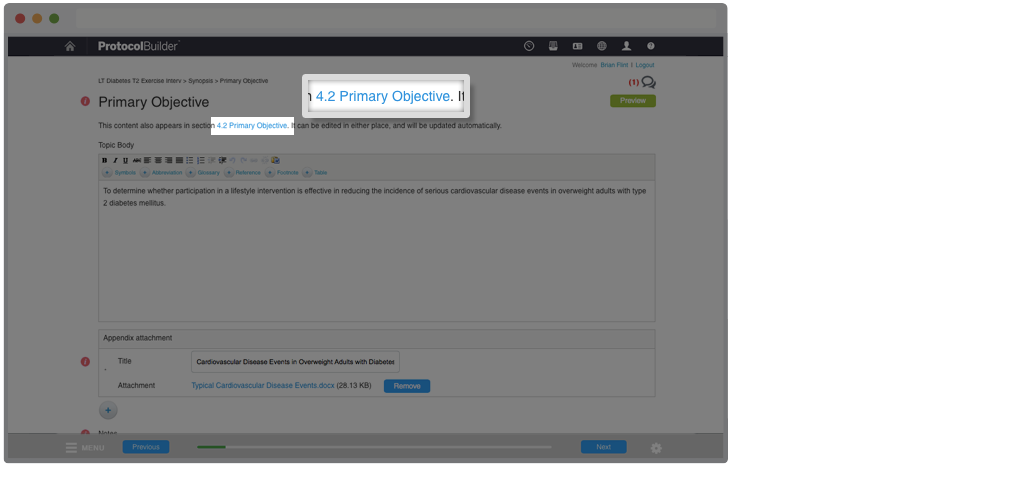
If you’re working on a section that’s repeated later, those sections will be linked so you don’t have to reenter information or make changes in two places.
-
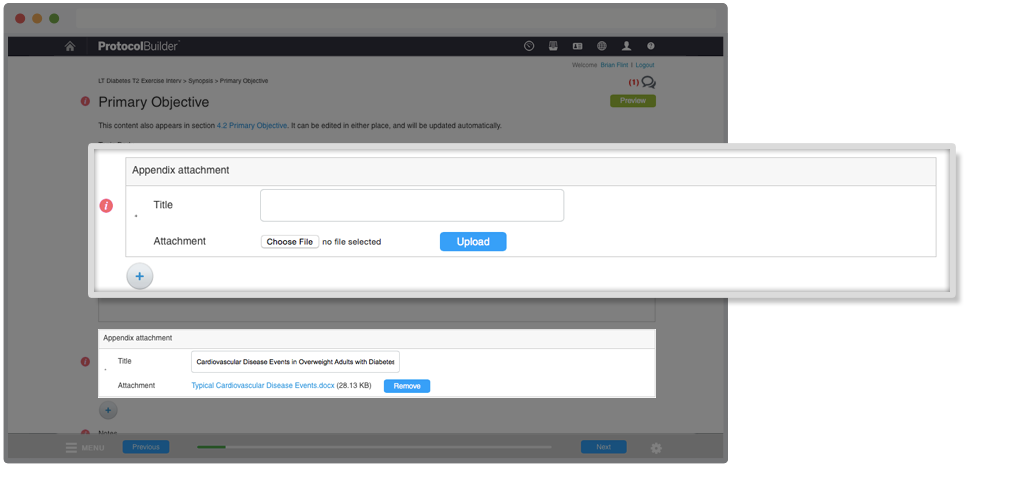
PROTOCOL SECTIONS
In the desktop version of Protocol Builder, you can attach a file while you’re working on a section. It will automatically be listed in the Appendices section of the protocol.
-
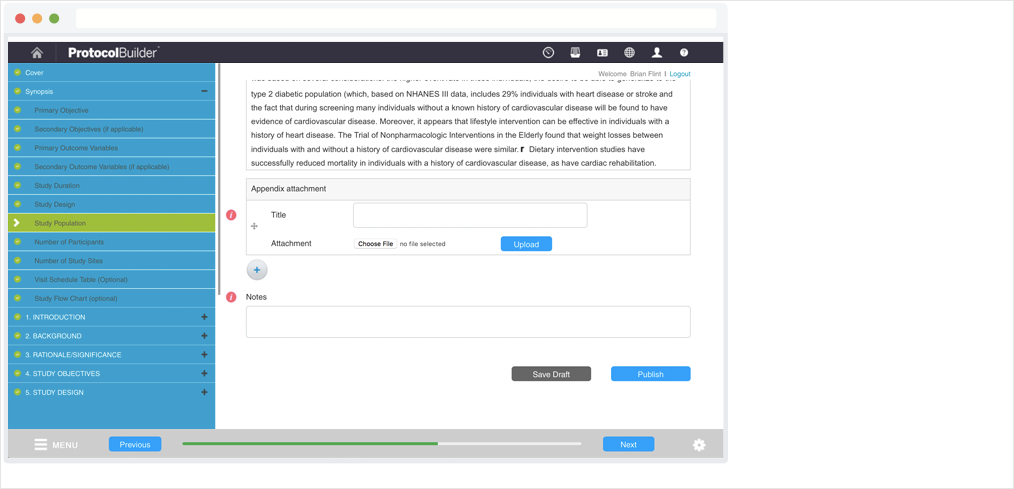
SAVE TOPIC DRAFT
Click Save Draft to save changesas you’re working on a topic. Click Publish when you want to create a new version of the topic, which will appear as the current version in the Compare Revisions table.
You can also click Next to publish a new version and go directly to the next topic.
-
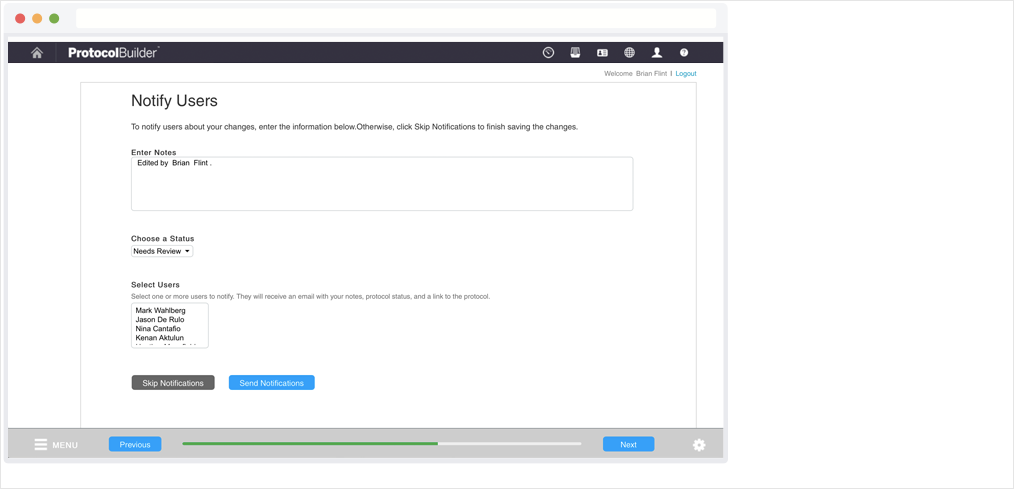
NOTIFY USERS
When you click Save Draft or Publish, you’ll have the option to send users an email to tell them about the revisions.
-
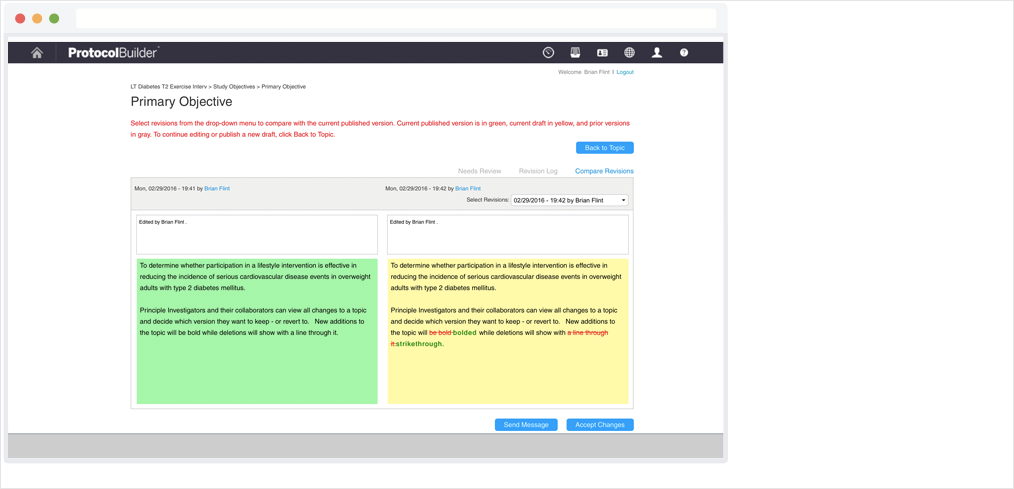
COMPARE REVISIONS
View and compare changes made to a topic. The changes are color-coded: current published version is green, current draft is yellow, and previous versions are gray. You can accept changes or send a message to users.
-
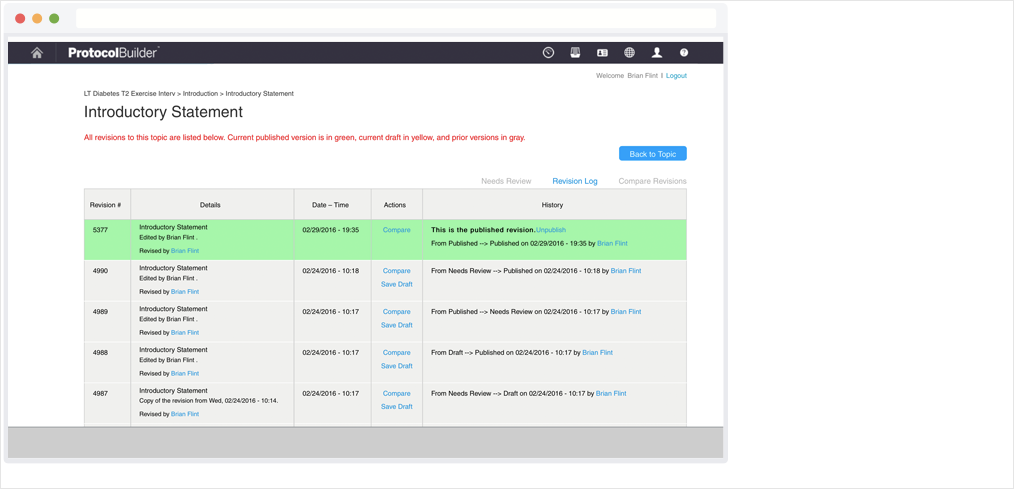
REVISIONS LOG
See a history of all revisions made to a topic. You can compare previous revised versions and go back to them—changes are never lost.
-
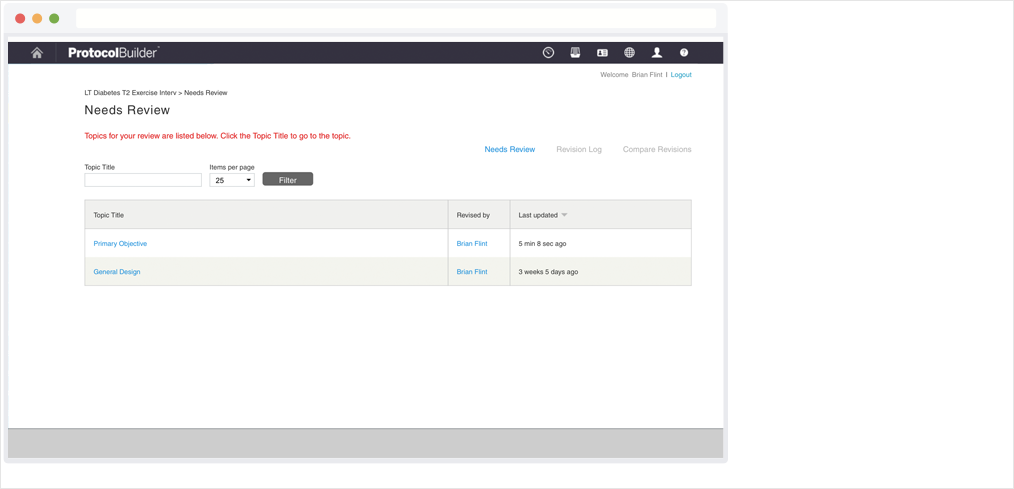
NEEDS REVIEW LIST
See all of the revisions you’ve been asked to review in one convenient task list.
-
CONTENTS MENU
If you’d like to go to a specific section of a protocol, open the Contents Menu and click the name of that section.
-
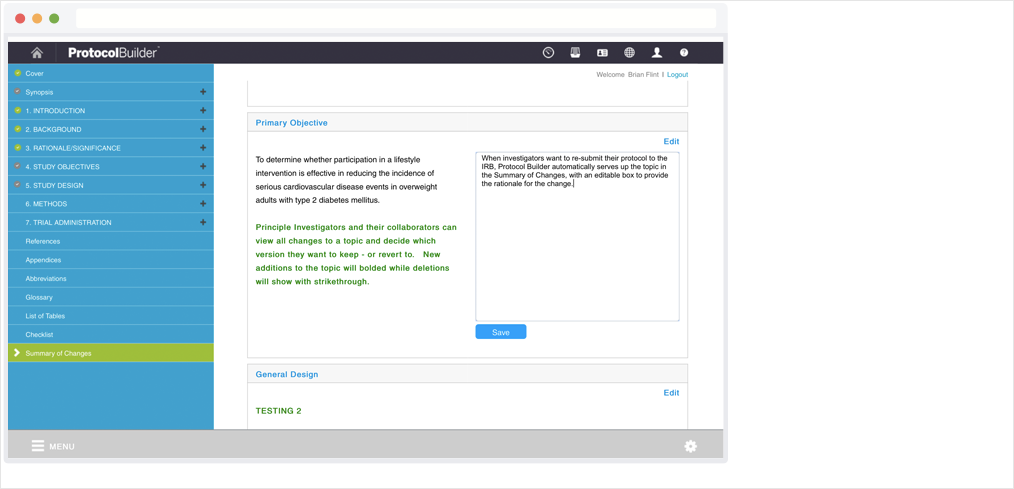
SUMMARY OF CHANGES
View a list of recent revisions and enter a rationale for each one.This summary will be included with the protocol, so you can resubmit it for approval.
-
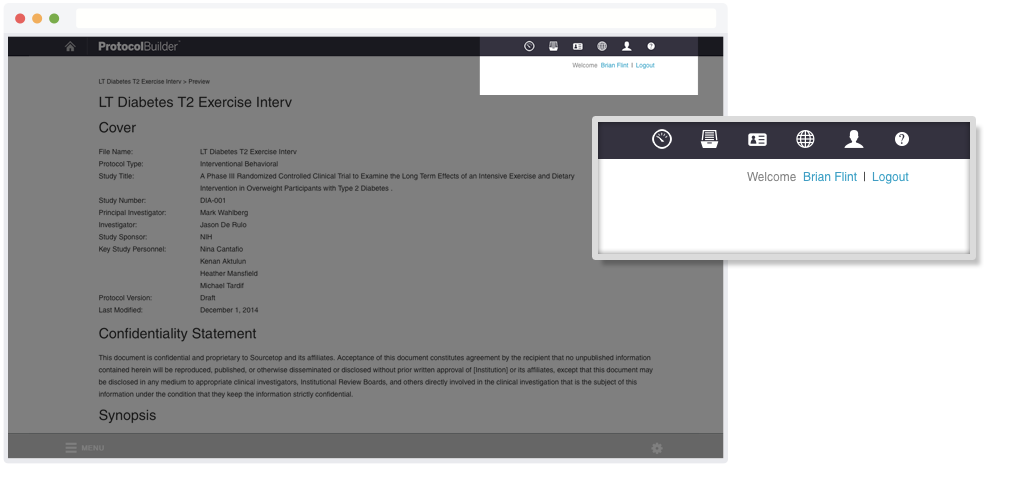
NAVIGATIONAL ICONS
Use the icons in the top right of the screen to go to the Dashboard, Protocol List, Contact List, Resource Center or Help section.
-
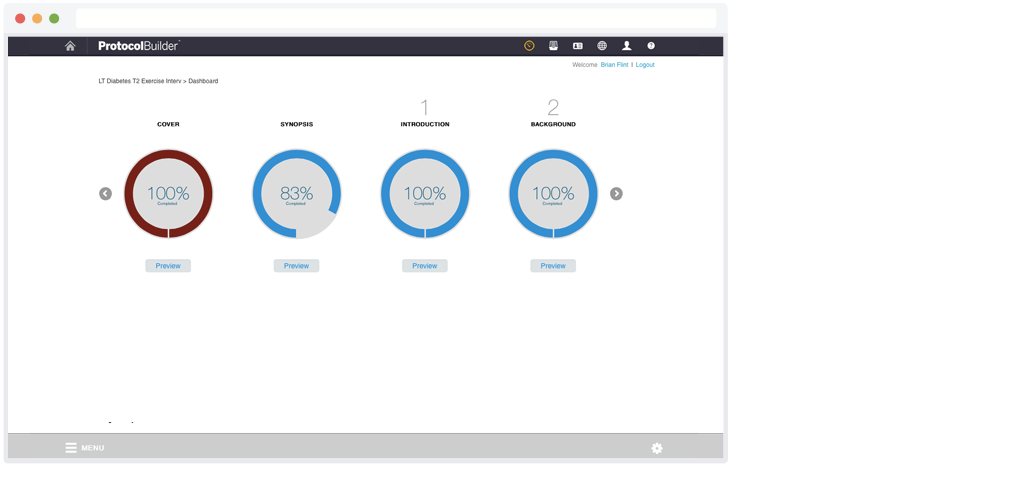
DASHBOARD
The Dashboard gives you a quick snapshot of your protocol and how much has been completed. Click the Preview button under any section to see it in Preview mode.
-
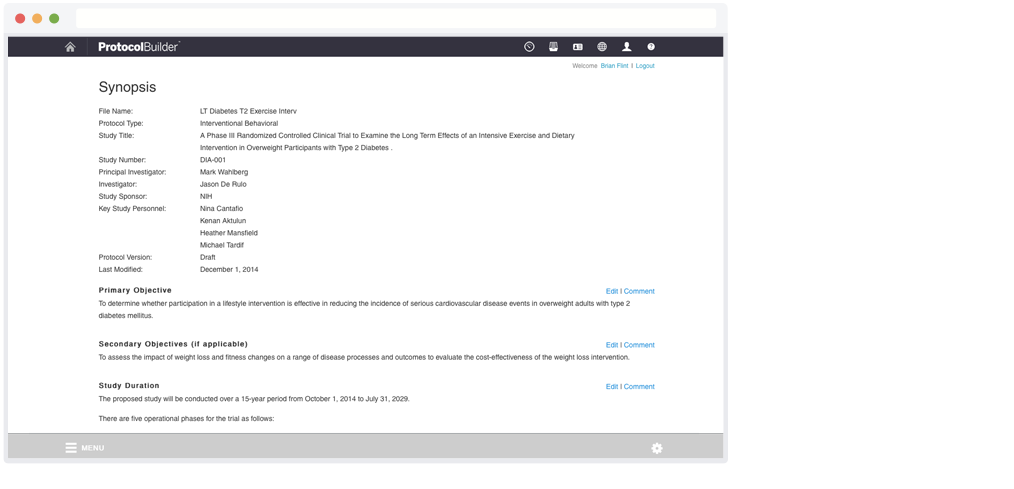
PREVIEW MODE
When you’re in Preview mode, you’ll be able to read through your entire protocol more easily. You can also click Edit to jump to any section and begin writing or revising.
-
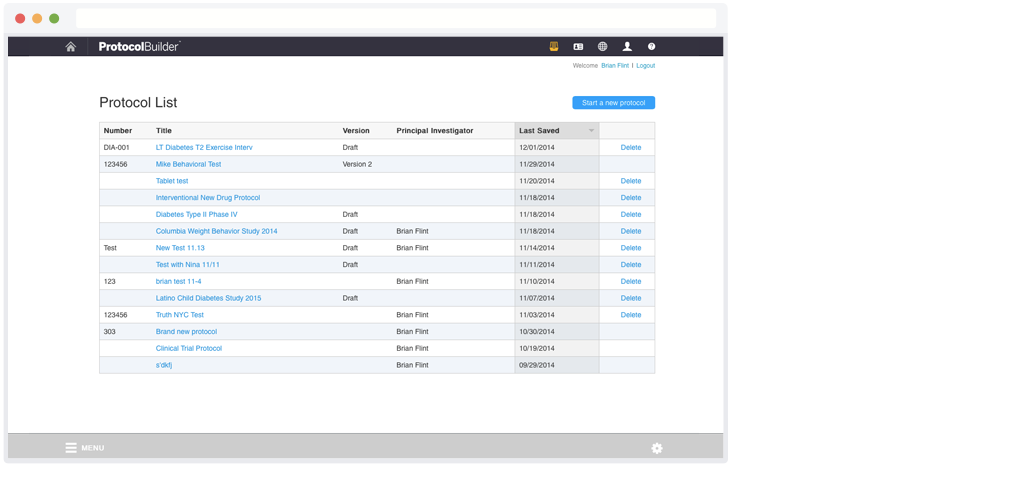
PROTOCOL LIST
The Protocol List screen allows you to access all of your saved protocols. Click on a header to sort the list. Click on a file name to open it.
-
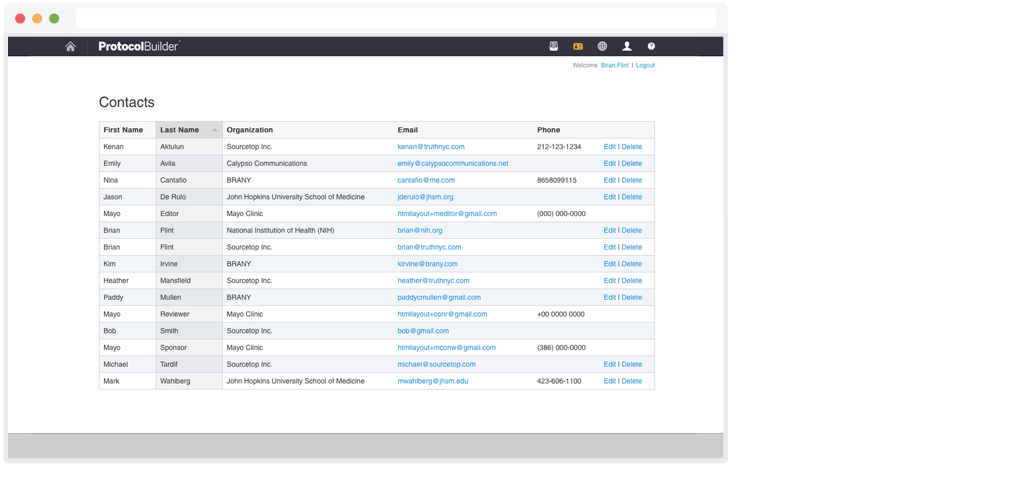
CONTACTS
The Contacts screen keeps all your contacts in one place where you can manage them easily. Click on a header to sort the list. Click Edit to update a contact.
-
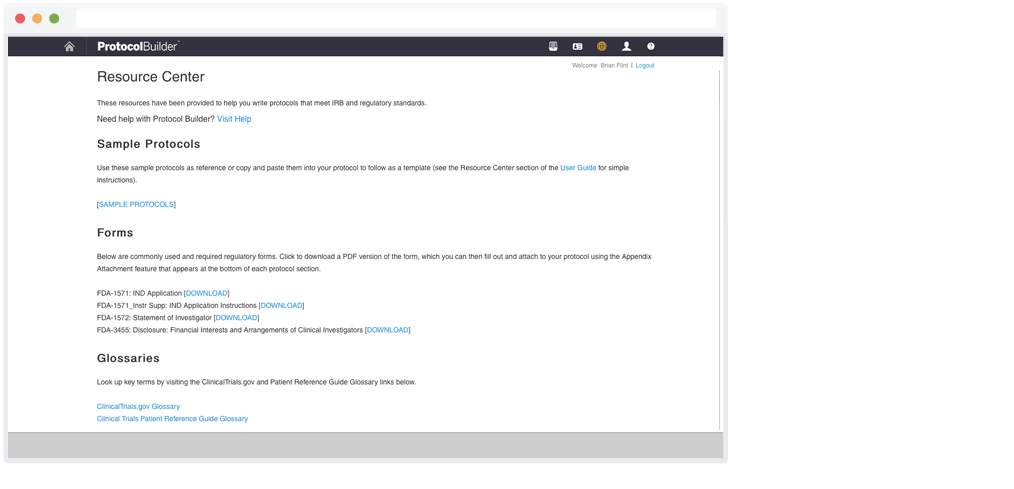
RESOURCE CENTER
The Resource Center contains well-written samples for your reference, which can be copied and pasted to help you start writing your protocol.
-
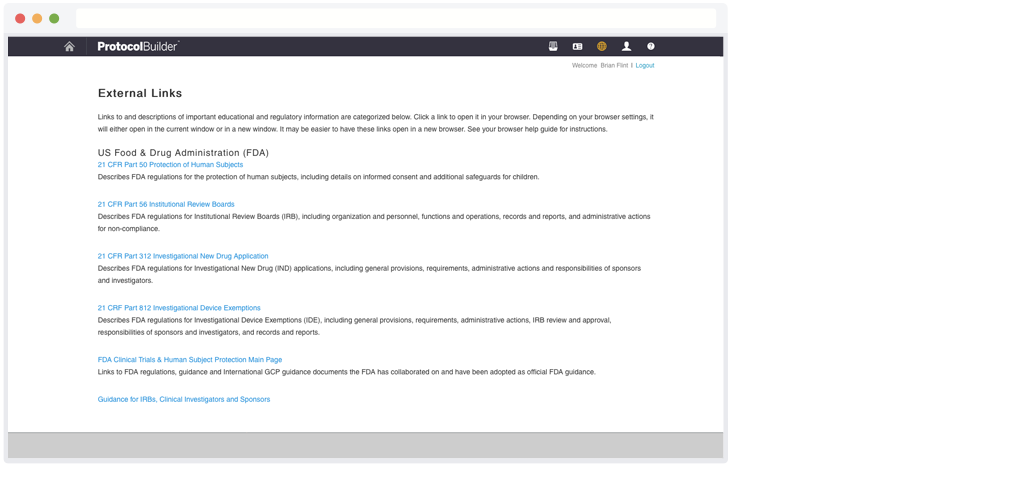
RESOURCE CENTER
It also includes external links to educational and regulatory information as well as commonly required forms that can be downloaded and attached to your protocol.
-
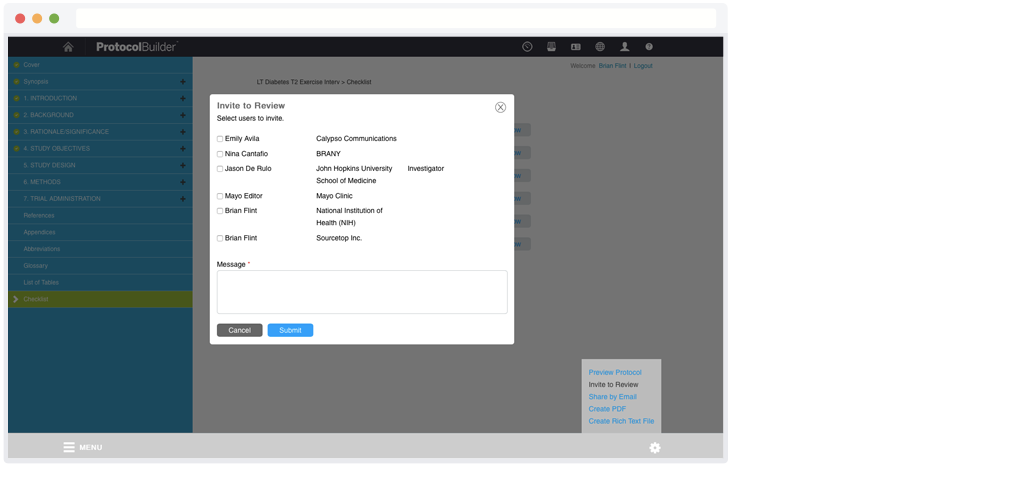
GEAR ICON
Use the “gear” icon at the bottom right to go to Preview mode or invite others to review your protocol.
-
GEAR ICON
Reviewers can add comments directly into the protocol, so it’s easier to manage feedback.
-
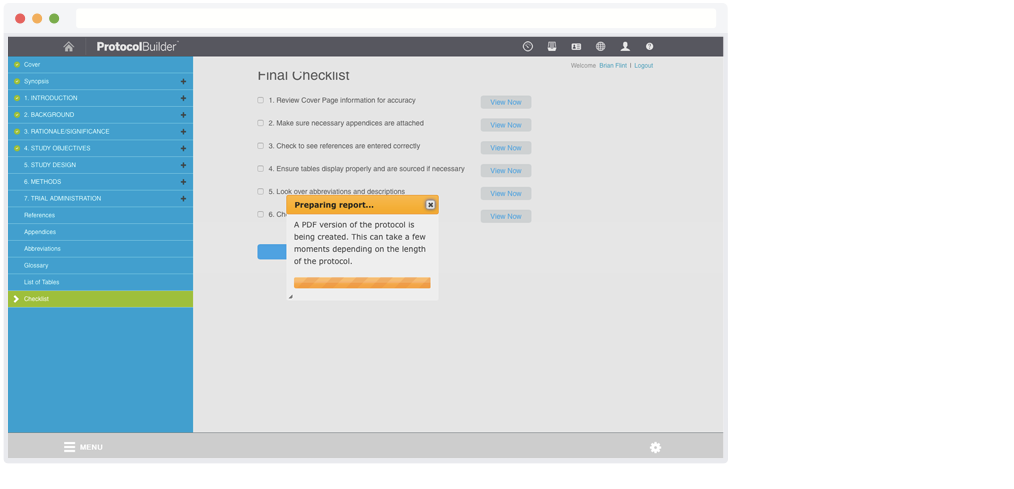
GEAR ICON
You can also email a PDF version of your protocol or download it as a PDF or rich text file (RTF). An RTF can be opened and edited in word processing software.
-
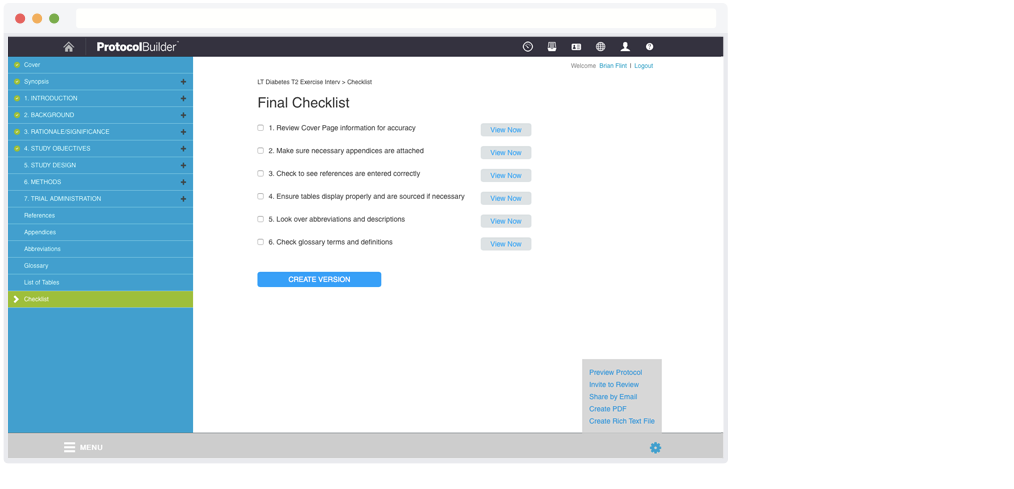
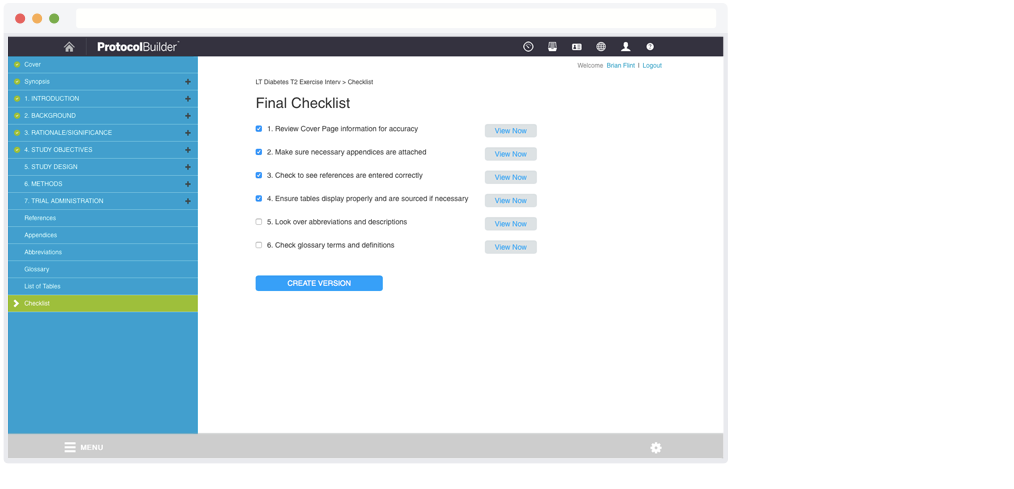
FINAL CHECKLIST
When you’re done writing a protocol, you can use the Final Checklist to make sure you’ve completed important steps.
-
CREATE VERSION
After you’ve checked off the steps, click the “Create Version” button to save a new version of your protocol.

-
THANK YOU FOR TAKING THE TOUR!
Learn more about Protocol Builder by visiting www.protocolbuilderpro.com.
If you’re a current Protocol Builder user who needs assistance, please call the Help Desk: 844-563-1042.